There is something truly special about holiday decorations that feel like they tell a story, don't you think? It's that feeling of warmth, of something handmade, that really makes a home feel welcoming during the colder months. When you bring out those cherished pieces year after year, they bring back so many lovely memories, like little moments captured in time. Creating your own decorations adds a layer of personal joy, making your surroundings uniquely yours. It's a way to put a bit of your own heart into the season, really.
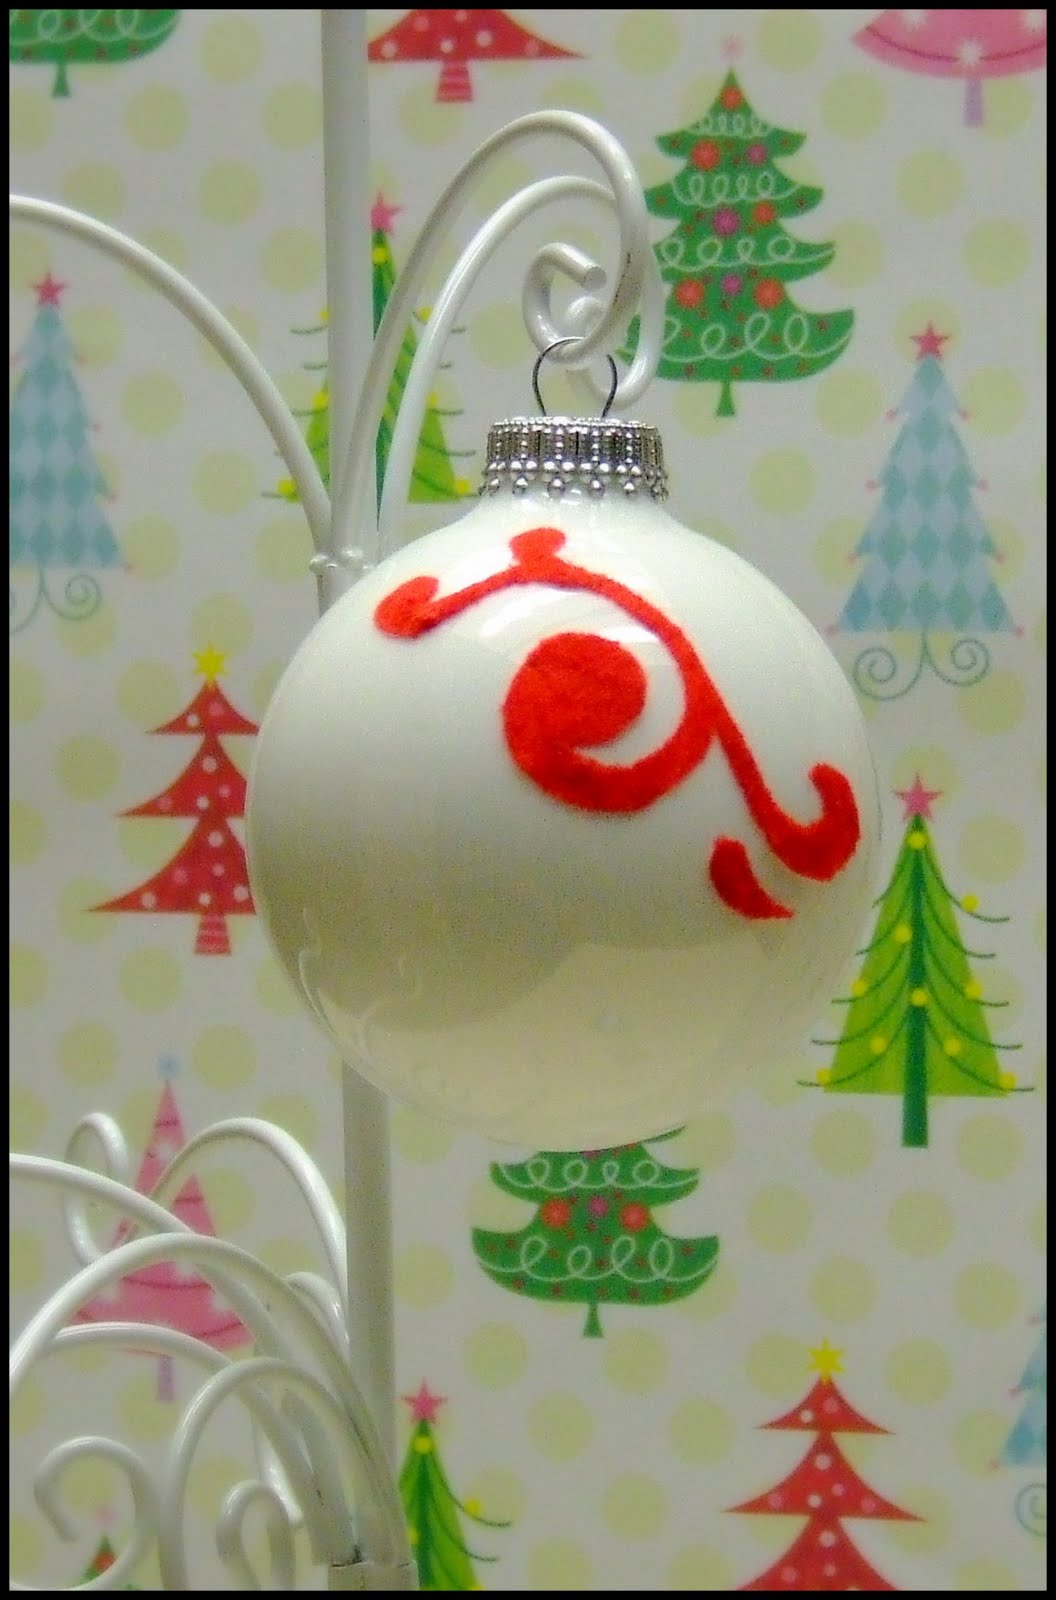
Flocked ornaments, with their soft, snowy appearance, have a way of adding a touch of winter wonderland magic to any tree or display. They look like they've been gently kissed by fresh snowfall, giving off a very cozy, almost dream-like feel. While you can certainly find these pretty decorations in stores, there is a distinct pleasure in crafting them yourself. It's like finding a new, fun answer to a little puzzle, much like those popular online communities where people share clever solutions for their living spaces. Making them yourself means each one carries a bit of your own creative spirit.
The process of making at home flocked ornaments is, in some respects, simpler than you might imagine, and the results can be truly delightful. It's a bit like discovering a new feature in a favorite game that somehow manages to exceed what you thought was possible. You get to see a plain object transform right before your eyes, turning into something quite beautiful and festive. This DIY project gives you a chance to add that perfect, fluffy touch to your holiday setup, and honestly, it is very satisfying to create something so charming.
Table of Contents
- Why Make At Home Flocked Ornaments Anyway?
- What Do You Need for At Home Flocked Ornaments?
- Getting Your Ornaments Ready for Flocking at Home
- How Do You Apply the Flocking to At Home Ornaments?
- Are There Different Ways to Fluff Up At Home Flocked Ornaments?
- Keeping Your At Home Flocked Ornaments Looking Their Best
- What If My At Home Flocked Ornaments Don't Look Quite Right?
- Sharing Your At Home Flocked Ornaments Creations
Why Make At Home Flocked Ornaments Anyway?
You might be wondering why someone would take the time to make at home flocked ornaments when stores are full of them. Well, there are a few good reasons, actually. First off, there is the sheer pleasure of making something with your own hands. It's a very different feeling to hang an ornament you've crafted yourself versus one you just picked up off a shelf. That personal touch adds so much character to your holiday display. It's like those shows where people transform their homes, showing how much a little effort can change things.
Then there is the matter of cost. Buying a whole set of pre-flocked ornaments can, in fact, get pretty pricey. Making them yourself often means you can create a lot more for less money, which is always a nice bonus, especially when you are decorating a whole tree or several areas of your home. You get to stretch your decorating budget further, and you still end up with something that looks absolutely beautiful. It’s a bit like finding a clever workaround in a game that saves you resources.
Another great thing about making at home flocked ornaments is the control you have over the look. You can pick out the exact color of the flocking material, the specific type of ornaments you want to use, and even how much "snow" you want on each piece. This means your decorations can perfectly match your existing holiday theme or create a brand-new one. You aren't limited by what is available in stores; your creativity is the only limit, really. You can get exactly the look you are after, which is very satisfying.
- Rachielove Onlyfans
- Ashley Spencer Onlyfans
- Scarlett Rose Leithold Nude
- Syd Simply
- Om Grown Yoga Bryan Tx
Plus, it's a wonderfully relaxing and creative activity. Spending an afternoon making at home flocked ornaments can be a very calming way to get into the holiday spirit. It is a chance to step away from the hustle and bustle, put on some festive tunes, and just enjoy the process of making something lovely. It is, in a way, a little escape, a moment of quiet creation that can bring a lot of joy. Many people find a lot of peace in these kinds of hands-on projects, you know.
What Do You Need for At Home Flocked Ornaments?
To get started on your at home flocked ornaments project, you will need a few basic items. Gathering everything before you begin makes the whole process smoother, as a matter of fact. You do not want to be halfway through and realize you are missing something important. Think of it like getting all your tools ready for a home improvement project; preparation makes everything easier.
First, you will need some ornaments. These can be old ones you already have that could use a refresh, or new, plain ones you pick up at a craft store. Glass, plastic, or even wooden ornaments work well. Just make sure they have a surface that the flocking material can stick to. You might want to pick out a variety of shapes and sizes, too, to add some visual interest to your finished collection.
Next up, the flocking material itself. This usually comes in a bag and looks like very fine, soft fibers, kind of like cotton dust. White is the most common color, giving that classic snowy look, but you can find it in other colors if you want to be a bit more adventurous. You will also need an adhesive. Many people use a special flocking adhesive, which is a glue designed specifically for this purpose, but some craft glues or even spray adhesive can work in a pinch. Just make sure whatever you pick is clear when it dries.
You will also need a way to apply the flocking. Some flocking kits come with a special puffer bottle or a sifter, which helps distribute the fibers evenly. If you do not have one, a fine mesh sieve or even just your fingers can work, though it might be a little messier. A paint brush or foam brush will be handy for applying the glue. And, of course, you will want some newspaper or a drop cloth to protect your work surface, because this project can get a little dusty, honestly.
Finally, consider having some small bowls or trays to catch excess flocking material, which you can then reuse. Gloves are also a good idea to keep your hands clean, and maybe a face mask if you are sensitive to fine particles. Having all these bits and pieces ready means you can just enjoy the creative part of making your at home flocked ornaments without interruption.
Getting Your Ornaments Ready for Flocking at Home
Before you start applying the fluffy stuff, it is a good idea to prepare your ornaments. This step is pretty important for making sure your at home flocked ornaments turn out looking their best and that the flocking stays put. Think of it like preparing a canvas before you paint; a good base makes all the difference, you know.
First, give your ornaments a quick clean. Even if they look clean, they might have dust or oils from your hands that could prevent the glue from sticking properly. A gentle wipe with a damp cloth and then letting them air dry completely usually does the trick. If they are particularly greasy or grimy, a little rubbing alcohol can help, but make sure it evaporates fully before moving on.
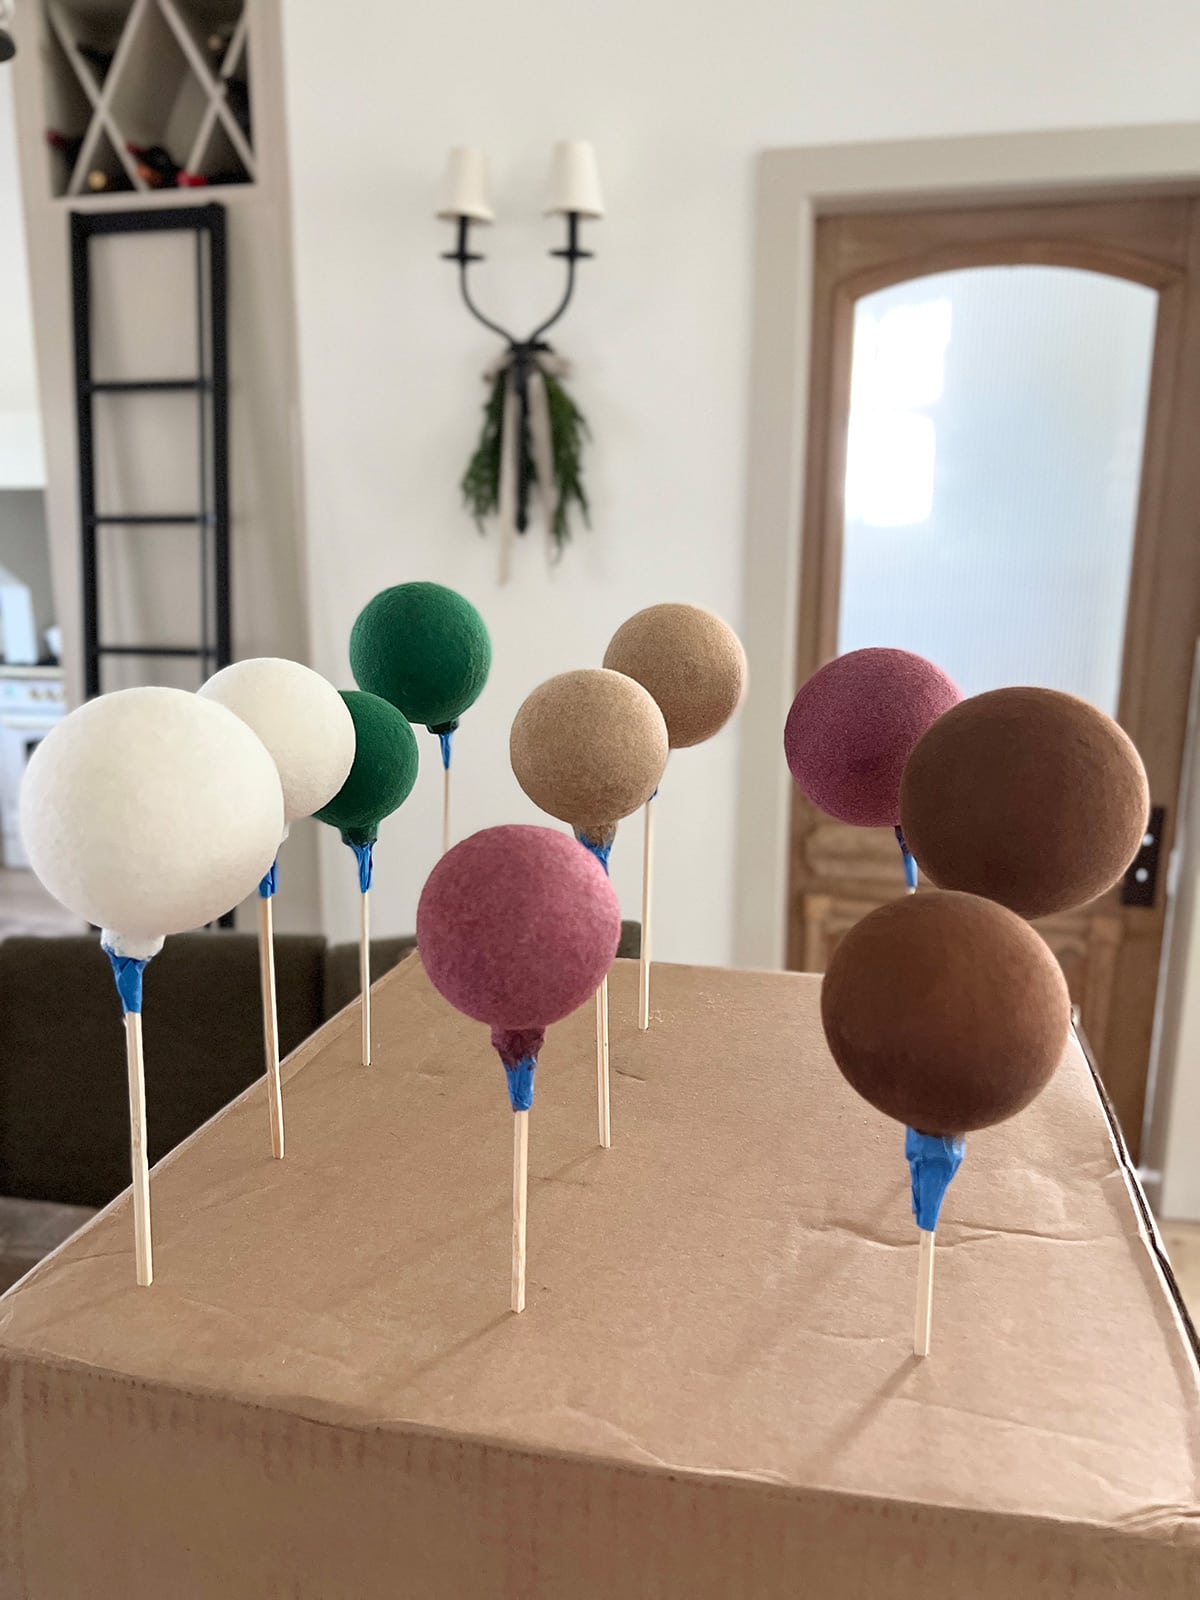
Next, think about how you will hold the ornaments while you are working. It can be tricky to get an even coating if you are constantly touching the wet glue. Some people hang them from a string or wire, perhaps over a box or newspaper, so they can spin them easily. Others might stick a skewer or a stick into the ornament's top hole, allowing them to hold it without touching the surface. This makes it much easier to get a consistent finish on your at home flocked ornaments.
You might also want to remove any existing caps or hangers from the ornaments if they get in the way. You can always put them back on once the flocking is completely dry. This simple step can make the application process much smoother, especially if you are working with a lot of ornaments. It’s all about setting yourself up for success, basically.
Finally, set up your work area. Lay down plenty of newspaper or a large sheet of plastic to catch any stray flocking material. This stuff is very light and can float around a bit, so containing the mess from the start will save you a lot of clean-up time later. Having a dedicated space for your at home flocked ornaments project just makes the whole experience more enjoyable and less stressful.
How Do You Apply the Flocking to At Home Ornaments?
Now for the fun part: actually applying the flocking to your at home flocked ornaments! This is where you see the magic happen, turning plain items into beautiful, snowy decorations. It's a pretty straightforward process, but taking your time will give you the best results, honestly.
Start by applying a thin, even layer of your chosen adhesive to a section of the ornament. You do not want it to be too thick, or it will take ages to dry and might even make the flocking look clumpy. A foam brush or a regular paintbrush works well for this. Cover just a small area at a time, especially if the glue dries quickly, so the flocking has something wet to stick to.
Immediately after applying the glue, sprinkle or puff the flocking material over the wet area. If you are using a puffer bottle, give it a good squeeze to get a nice, even cloud of fibers. If you are using a sieve, gently tap it over the ornament. Make sure to cover the entire glued section thoroughly. You want to see a nice, dense layer of the fluffy stuff, you know.
Once you have covered a section, gently tap off any excess flocking. You can do this over your newspaper or a tray to collect the unused material and put it back in the bag for later. Then, move on to the next section of the ornament, applying glue and flocking until the entire piece is covered. Take care not to touch the already flocked areas, as the fibers will be delicate until the glue is completely dry.
After all the surfaces are covered, hang your at home flocked ornaments somewhere safe to dry completely. This might take several hours, or even overnight, depending on the type of glue you used and the humidity in your room. It is very important to let them dry fully before handling them too much, as this ensures the flocking stays put and looks good for a long time. Patience here really pays off, you will find.
Are There Different Ways to Fluff Up At Home Flocked Ornaments?
When it comes to making at home flocked ornaments, you might be curious if there are other ways to get that lovely, soft look beyond the standard flocking powder. And the answer is, yes, there are a few creative approaches you could try, depending on the specific effect you are hoping to achieve. It is like finding different answers to the same creative question, which is pretty cool.
One alternative, or rather, a variation on the theme, involves using fine glitter or even mica flakes mixed in with your flocking powder. This can add a subtle sparkle to your at home flocked ornaments, making them shimmer gently under the lights. You would simply mix a small amount of the glitter with your flocking material before applying it, giving it a bit of extra magic. This is a very popular way to add a bit of extra something.
Another idea is to use different colors of flocking powder. While white is classic, imagine soft blue, pale pink, or even a very light green flocking for a unique twist. This allows you to match your at home flocked ornaments to a specific color scheme or create a truly whimsical collection. You could even try a subtle ombre effect by applying one color at the top and another at the bottom, blending them in the middle.
For a more textured look, some people experiment with very fine artificial snow or even crushed epsom salts, though these usually require a stronger adhesive and might not have the same soft feel as traditional flocking. These methods can give a more icy or crystal-like appearance, which is different but still very festive. It is all about what kind of winter scene you want to create for your home, honestly.
You could also consider applying flocking to only part of the ornament, creating a half-flocked or snow-capped effect. For instance, you might just flock the top of a round ornament, making it look like a little snowdrift has settled on it. This can add a lot of visual interest and makes each of your at home flocked ornaments feel a bit more unique. It is a way to get a bit more creative with the process, you know.
Keeping Your At Home Flocked Ornaments Looking Their Best
Once you have put in the effort to create your beautiful at home flocked ornaments, you will want them to last for many holiday seasons to come. A little care in storing and handling them can make a big difference in how well they hold up over time. It is similar to how you would care for any cherished item in your home to keep it looking good.
When it comes to putting them away after the holidays, avoid just tossing them into a box. The flocking, while fairly durable once dry, can get matted or shed if it is crushed or rubbed against other items. Instead, try to store each at home flocked ornament individually, perhaps wrapped in tissue paper or placed in separate compartments within an ornament storage box. This protects the delicate surface.
Keeping them in a dry place is also very important. Humidity can sometimes affect the adhesive or even cause the flocking to clump or change texture over a long period. A cool, dry storage area like a closet or a dedicated storage bin in a spare room is ideal. You want to avoid attics or basements that might get damp or experience extreme temperature swings, as these can be pretty hard on your decorations.
When you are handling your at home flocked ornaments, try to pick them up by their caps or the hangers rather than touching the flocked surface directly. This helps prevent the transfer of oils from your skin and reduces the chance of the flocking getting squashed or coming off. A gentle touch goes a long way in preserving their snowy look, you know.
If you notice a little bit of shedding over time, especially after the first year, do not worry too much; it is pretty normal. You can sometimes touch up small bare spots with a tiny bit of glue and a sprinkle of flocking powder, just like you did originally. This simple bit of upkeep can keep your at home flocked ornaments looking fresh and lovely for years, truly making them a lasting part of your holiday traditions.
What If My At Home Flocked Ornaments Don't Look Quite Right?
Sometimes, when you are trying a new craft, things might not go exactly as planned, and that is perfectly okay. If your at home flocked ornaments do not turn out quite the way you pictured them, there are often ways to fix things or learn from the experience. It is a bit like playing a game where you might not get the perfect score on the first try, but you learn something new each time, you know.
If the flocking looks too sparse in some areas, the glue might have dried too quickly, or you did not apply enough flocking powder. You can usually go back and apply a bit more glue to those patchy spots and then re-flock them. Just make sure the rest of the ornament is completely dry before you start touching up, so you do not disturb the existing flocking. This can often make a big difference, honestly.
If the flocking looks clumpy or uneven, it might be that too much glue was used, or the flocking was applied too heavily in one spot. For minor clumps, you can sometimes gently brush them away with a very soft, dry brush once the ornament is completely dry. For more significant issues, you might have to carefully scrape off the flocking from that area, reapply glue, and then re-flock it. It is a bit of extra work, but it can save the ornament.
Sometimes the flocking just does not stick well. This could be due to oils or dirt on the ornament's surface, or perhaps the adhesive was not the right kind. Make sure your ornaments are very clean before you start. Also, double-check that your glue is suitable for flocking or is a strong, clear-drying craft adhesive. Sometimes, a little bit of trial and error is part of the creative process, you will find.
And if an at home flocked ornament just really did not work out, do not be discouraged. Every craft project is a learning opportunity. You can always try again with a new ornament, perhaps adjusting your technique based on what you learned from the first attempt. Remember, the goal is to have fun and create something unique for your home, and sometimes the imperfections make a piece even more charming, in a way.
Sharing Your At Home Flocked Ornaments Creations
After you have put in the time and effort to make your at home flocked ornaments, you will probably feel a real sense of accomplishment. It is a pretty wonderful feeling to see your creative vision come to life. Sharing these lovely creations, whether by displaying them proudly or giving them as gifts, adds another layer of joy to the whole experience. It is like those online communities where people share their clever solutions and discoveries, inspiring others.
One of the simplest ways to share your work is to simply hang your at home flocked ornaments on your Christmas tree. They will add a beautiful, snowy touch and stand out because they are handmade. When friends and family visit, they will surely notice the unique charm of your homemade decorations, and you can tell them all about how you made them. It is a lovely conversation starter, really.
Beyond the tree, consider using your at home flocked ornaments in other parts of your holiday decor. They can look very pretty nestled in a festive centerpiece on your dining table, or perhaps arranged in a decorative bowl on a mantelpiece. You could even tie them to gift packages for an extra special touch, making the wrapping almost as exciting as the present itself.
Homemade at home flocked ornaments also make truly thoughtful gifts. Imagine giving a friend or family member a set of ornaments you made yourself. It shows you put time and care into their present, and they will have something unique to add to their own holiday traditions. It is a way of sharing a bit of your creative spirit and spreading some cheer, you know.
And if you are feeling up to it, you could even share your process or finished at home flocked ornaments online. Just like people share their home transformations or clever game answers, you could inspire others to try this fun craft. Posting pictures on social media or a personal blog can be a great way to connect with other crafters and show off your hard work. It is a very rewarding way to share your passion, honestly.
So, making at home flocked ornaments is
- Karen Blake Husband
- Kassandra Gillis Onlyfans
- Sweet Anita Onlyfans Leak
- Club Carter
- All Casting Promo Code