Imagine a gentle glow dancing on water, casting a soft light around your backyard or living area. It’s a pretty picture, isn’t it? Floating candles have a way of bringing a special kind of calm and wonder to any spot, making everyday moments feel a little bit more like a dream. They just seem to add that extra touch of enchantment without a lot of fuss.
Creating this lovely vibe is actually simpler than you might think, whether you’re making your own little lights or just setting up store-bought ones. You don't need a lot of fancy tools or special skills, which is pretty nice. So, if you've ever thought about adding a bit of sparkle to your home or next get-together, these little wonders are a very good way to go.
We’ll walk you through how to get these charming lights ready, from gathering your bits and pieces to setting them afloat. We’ll also share some neat ideas for where to put them, and a few little tricks to make sure they look their very best. You'll get all the simple floating candles instructions you could ask for, making it easy to bring that peaceful, watery sparkle right to your own place.
Table of Contents
- Creative Ways to Use Floating Candles
- How Can Floating Candles Transform Your Space?
- Gathering Your Supplies for Floating Candles
- What Do You Need for Homemade Floating Candles?
- Crafting Your Own - Floating Candles Instructions
- Simple Floating Candles Instructions with Tea Lights (Question)
- Making Them Look Their Best
- Getting the Most from Your Floating Candles (Question)
Creative Ways to Use Floating Candles
There are many delightful ways to bring the soft, shimmering light of these special candles into your surroundings. They offer a gentle, calming presence that can truly change the feel of a room or an outdoor spot. You might be surprised by just how much warmth and visual interest they add with very little effort. It's truly a simple way to make things feel more inviting, for example.
Consider your backyard on a warm evening, perhaps with friends gathered around. You want to make it feel a bit special, like a place where good memories happen. One very simple way to do this is by adding a gentle, dancing light to your outdoor space. You could, for instance, take a birdbath you already have and turn it into a beautiful, glowing centerpiece. Just a little bit of water and a few of these special candles can really change the whole feel of the area, making it seem quite magical. It's almost like bringing a little piece of a fairy tale right to your own yard, which is pretty neat.
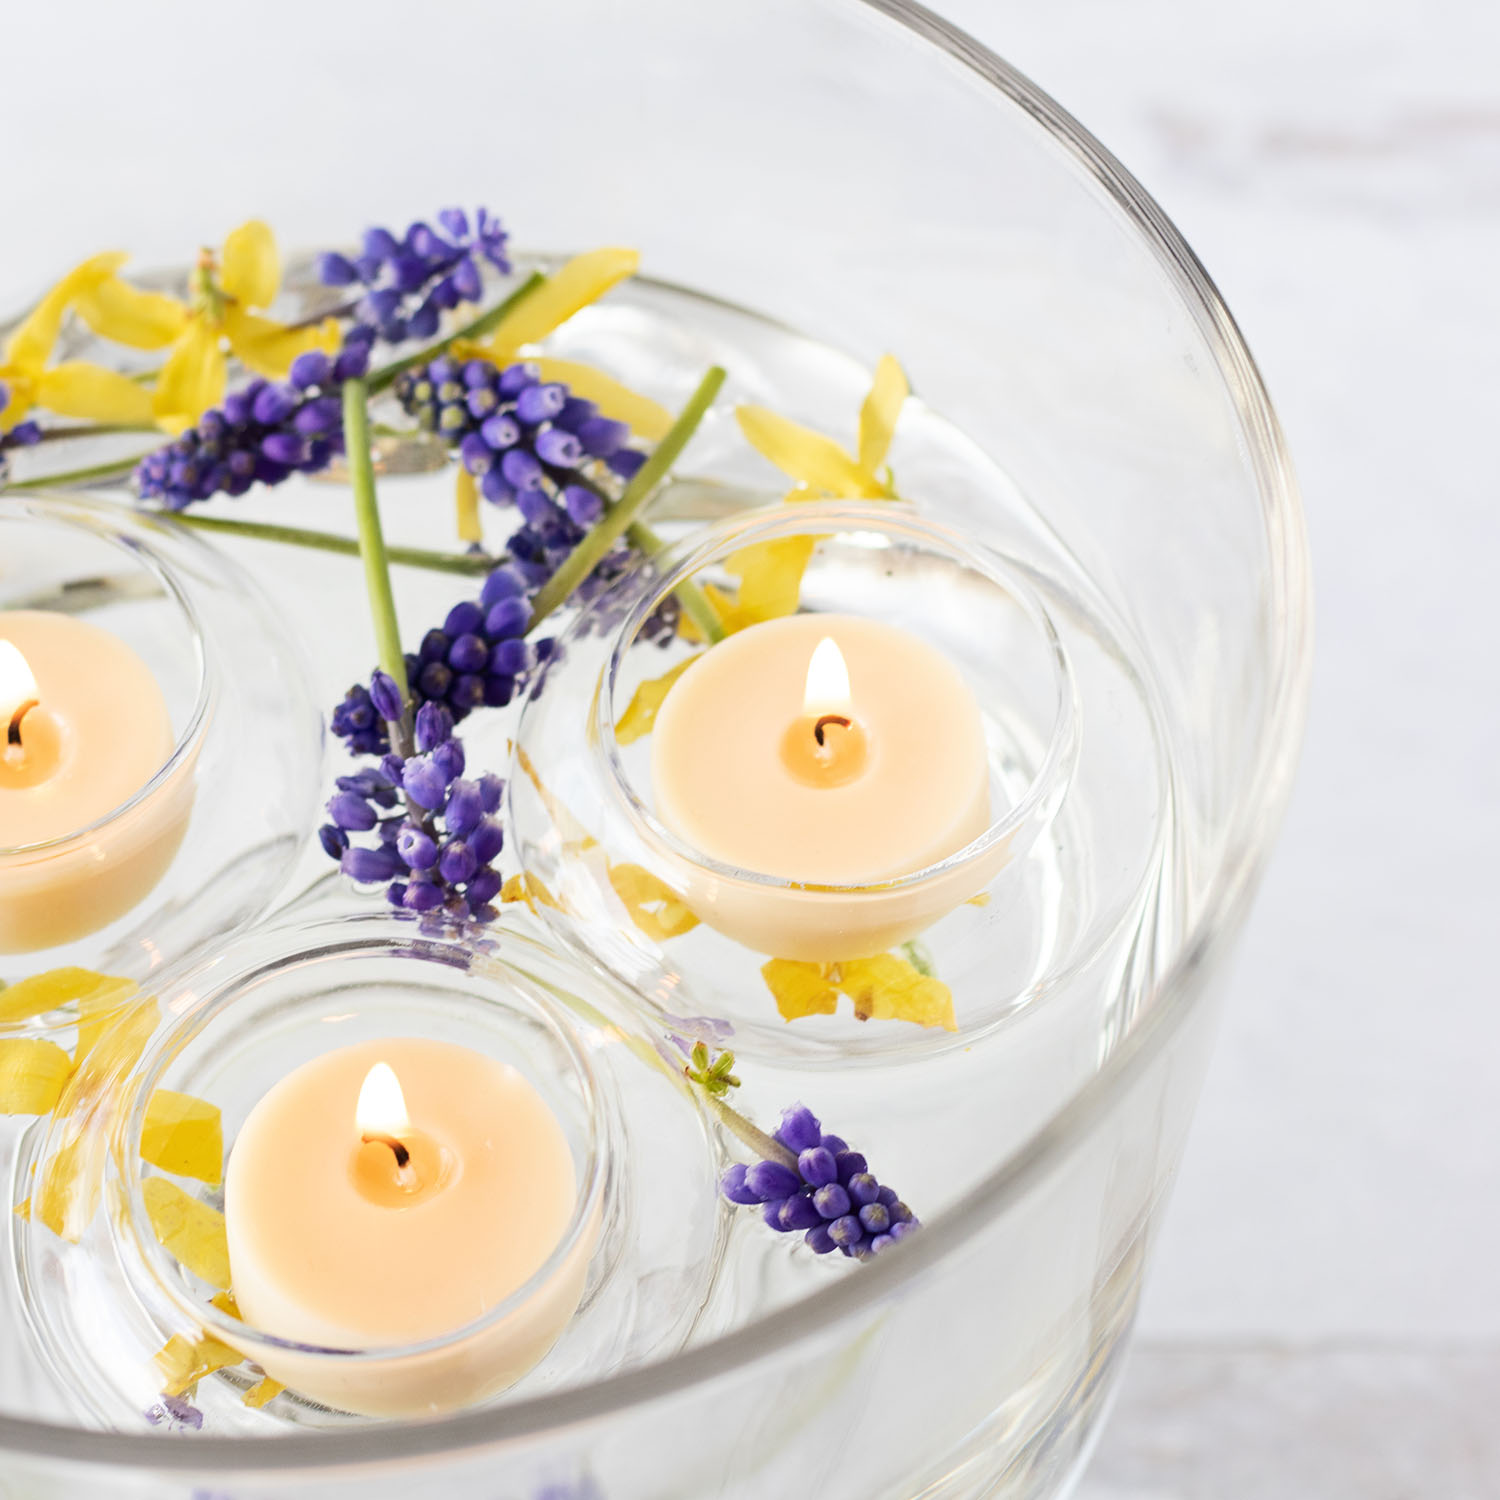
Beyond the birdbath, any water-holding container can become a stage for these lights. A large, clear bowl on a dining table, a shallow dish on a coffee table, or even a deep vase can work wonders. The water in the container does more than just hold the candles up; it actually helps to reflect their light, making the glow seem bigger and brighter. This reflection adds a lovely, serene quality to the light, creating a calm visual effect. It’s a very clever trick for making a space feel more open and airy, in a way.
- Anna Paul Nude Leaked
- Devyn Galindo
- Alemia Rojas Leaks
- Charli Damelio Onlyfans Leaks
- Kassandra Gillis Onlyfans
How Can Floating Candles Transform Your Space?
These versatile little lights have a unique knack for changing the mood of any area. They bring an elegant, almost dream-like touch, making a place feel special and inviting. Whether you are getting ready for a big get-together or just want to make your everyday surroundings feel a bit more peaceful, these candles are a lovely choice. They can turn an ordinary corner into something quite extraordinary, you see.
Imagine a dinner party where the main light comes from these gentle flames bobbing on water. The soft, moving light creates a very intimate and warm atmosphere, making conversation flow more easily. Or picture a quiet evening alone, with a few floating candles in a clear bowl beside you. The calm glow can help you relax and unwind, offering a peaceful moment. They are, in fact, perfect for creating a sense of calm and quiet beauty, which is sometimes just what you need.
They are not just for special times, either. You can use them as a regular part of your home's look. A small cluster in a decorative bowl on a shelf, or a single candle in a glass by a window, can add a constant touch of subtle charm. The way they sit on the water and move slightly with any small breeze or movement makes them very much alive. It’s a simple addition that offers a lot of visual interest and a feeling of warmth, naturally.
Gathering Your Supplies for Floating Candles
Before you begin the fun of making your own floating candles, it helps to gather everything you will need. Having all your bits and pieces ready before you start makes the whole process smoother and more enjoyable. It means you won’t have to stop halfway through to look for something, which can be a bit frustrating, so it’s good to be prepared.
The main ingredient for these candles is the wax itself. Paraffin wax or beeswax are often recommended because of how they behave when melted and how they burn. They tend to have a good density, which is important for helping the candle stay afloat properly. Their burning qualities also make them a solid choice for a steady, pleasing flame. You want a wax that holds its shape well, for instance, and these usually do the trick.
You will also need a wick. For floating candles, a special kind of wick is often used. It’s called an untabbed zinc core wick, and it’s designed to stand up straight even without a metal base. This type of wick is good because it will float on top of the melted wax, drawing up the oils to keep the flame going. Make sure the wick you pick is the right size for the candle you plan to make; it really does make a difference to how well it burns, in some respects.
If you want to add a bit of color or a pleasant smell to your candles, you will need candle dye and scent oils. The dye lets you pick just the right shade to match your home or event. For example, if you wanted a special coral color, but didn’t have a specific coral dye, you could mix a few different colors together to create your own unique shade. This is a very fun part of the process, as you get to be a bit creative with your floating candles instructions.
What Do You Need for Homemade Floating Candles?
To create your own floating candles, you will need a few key items. Think of it like getting your ingredients ready for a favorite recipe. First, you will want a heat-proof container for melting your wax. This could be a special melting pot or even a double boiler setup using a pot and a heat-safe bowl. Safety is important here, so pick something that can handle the warmth, naturally.
Next, you will need your chosen wax, either paraffin or beeswax, as we discussed. You will also need those special floating candle wicks. These wicks are made to stay on the surface of the liquid wax, which is quite clever. They will burn the candle’s oils from underneath, letting out any pleasant smells you have added. Having the right wick is actually quite important for the candle to work as it should.
If you plan to add color, you will need candle dye. If you want a specific smell, you will need fragrance oils. A thermometer is also a good idea to make sure your wax reaches the right temperature for pouring. Finally, you will need molds for your candles. These can be anything from small tart tins to custom shapes, as long as they can hold the melted wax. It’s usually a good idea to have a clear workspace ready, too, with everything laid out, for example.
Crafting Your Own - Floating Candles Instructions
Making your own floating candles can be a very rewarding project. It allows you to pick your favorite smells and colors, and it’s often much less expensive than buying them already made. This way, you get exactly what you want, which is pretty satisfying. The process itself is not overly complicated, which is nice, so anyone can give it a try.
Start by setting up your work area. Pick a spot that is easy to clean, perhaps with some old newspapers or a protective mat underneath. This helps keep things tidy, especially when working with melted wax. Having everything within reach makes the whole process smoother, too. It’s a bit like preparing a kitchen for cooking; you want all your tools and ingredients close by, you see.
Next, you will melt your wax. Put your chosen wax into your heat-proof container and gently warm it. A good way to do this is using a double boiler setup, where your wax container sits in a larger pot of simmering water. This helps the wax melt slowly and evenly, without getting too hot too quickly. It’s important to watch the temperature, perhaps with a thermometer, to make sure it’s just right for pouring. This step is quite important for how your candles turn out, in a way.
While your wax is warming, you can get your wicks ready. For small molds, like tart tins, you might press the metal tab of an untabbed wick into a glue dot. Then, carefully pull the wick and its glue dot from the roll and place it right in the middle of your mold. This helps the wick stay put when you pour the wax. It’s a small step, but it really helps keep your candle looking good, naturally.
Once your wax is melted and at the correct temperature, you can add your color and scent, if you wish. Stir these in gently until they are fully mixed. Then, carefully pour the melted wax into your prepared molds. Make sure the wicks stay centered as you pour. This is a moment where a steady hand helps quite a bit. You want to fill the molds to a good level, leaving enough room for the wick to stand tall, you see.
After pouring, you need to let your candles cool down completely. This can take some time, so be patient. For them to work their best and give off a good scent when burning, it’s a good idea to let them sit and harden for at least a full day, perhaps even two days. This cooling and "curing" time helps the wax set properly and holds the fragrance better. It’s a bit like letting a cake cool before you slice
- Mens Hosiery Fashion
- Ashley Spencer Onlyfans
- Orange County Fair Winterfest
- Eslain Naked
- Amateurallure Lulu