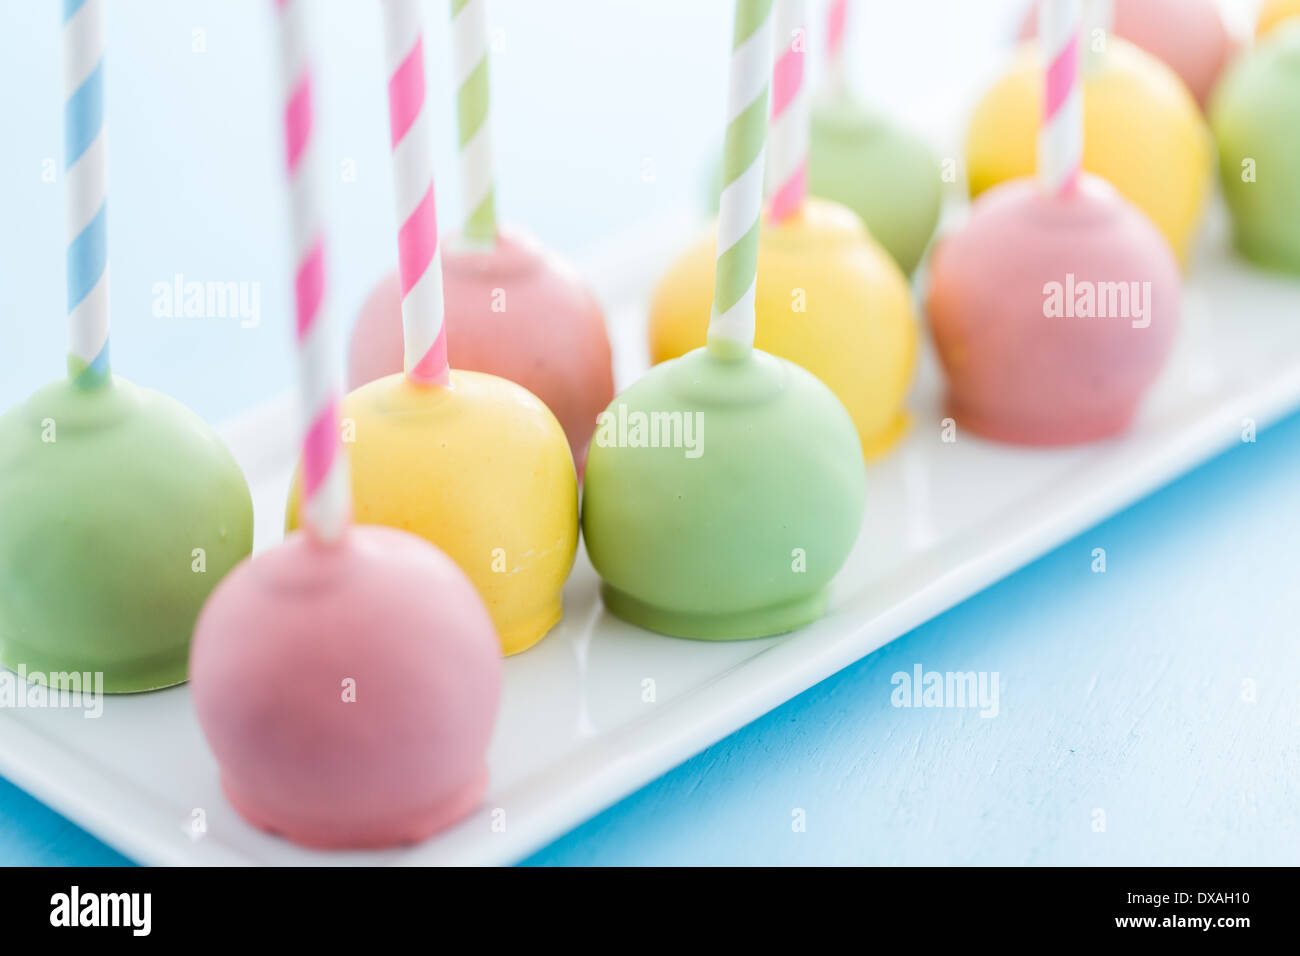
There's something truly delightful, a bit whimsical even, about a small, round cake bite perched neatly on a straw. These little treats, known to many as cake pops on straws, have really captured hearts at celebrations, gatherings, and just for a little pick-me-up. They offer a perfect, single-serving portion of cake, making them a wonderfully tidy option when you want to enjoy something sweet without a lot of fuss or mess. It’s a pretty clever way to serve cake, actually, giving everyone their own little piece of joy.
You see them at birthday parties, sometimes at weddings, and even just as a nice surprise for friends or family. Their charm comes from their neat presentation and the way they let you savor a sweet moment without needing a plate or a fork. They are, in a way, a miniature celebration all on their own, ready to be picked up and enjoyed. People often comment on how cute they look, and how much fun they are to eat, which is that, a big part of their appeal.
Creating these charming little sweets might seem like a bit of a mystery at first, but honestly, it's more about having a good time with some baking basics and a dash of creativity. We’re going to walk through what makes them so special and, perhaps, inspire you to try making some of your very own. It's really quite a rewarding little project, you know, when you see those happy faces.
- Chloe Wang Nude
- Sweet Anita Onlyfans Leak
- Sirvan Khosravi Los Angeles
- Aberdeen Street Social
- Brandy Taylor Pics
Table of Contents
- What Makes Cake Pops on Straws So Appealing?
- Getting Ready for Your Cake Pops on Straws Adventure
- Are Cake Pops on Straws Hard to Make?
- The Core of Great Cake Pops on Straws
- How Do You Get Cake Pops on Straws Just Right?
- Decorating Your Cake Pops on Straws
- What Are Some Fun Ideas for Cake Pops on Straws?
- Enjoying Your Homemade Cake Pops on Straws
What Makes Cake Pops on Straws So Appealing?
There is, you know, something truly special about cake pops on straws that draws people in. It's not just the sweet taste of cake, though that is certainly a big part of it. A lot of the appeal comes from their size and the way they are presented. Each one is a perfectly formed, bite-sized piece of cake, which means you get all the enjoyment of a dessert without having to commit to a big slice. This makes them ideal for events where folks might be mingling, since they are easy to hold and eat while standing or moving around. They are, in a way, a very social sort of sweet, if that makes sense.
Think about a party, for instance. Instead of cutting up a big cake and dealing with plates and forks, which can be a bit of a bother, you just have these lovely little cake pops on straws ready to go. They are clean, they are neat, and they are, quite simply, very pretty to look at. People often pick them up just because they look so charming. The straw gives them a kind of lollipop feel, which adds to the fun, especially for younger party-goers, but honestly, adults love them too. It’s that, a bit of playful elegance, you could say.
Beyond their good looks and ease of handling, cake pops on straws also offer a chance for a lot of creative expression. You can make them in nearly any flavor you can dream up, and the outside can be covered in all sorts of colors and sprinkles. This means they can be made to match any party theme, any color scheme, or even just a particular mood. So, really, they are not just a dessert; they are a little piece of edible art, too it's almost. That versatility, combined with their inherent cuteness, truly makes them a favorite for many people seeking something a little different from the usual cake.
Getting Ready for Your Cake Pops on Straws Adventure
Before you even think about putting anything together for your cake pops on straws, it's a good idea to get everything set up. This really helps make the whole process go smoothly, you know, without any unexpected bumps. First, you'll want to gather all your tools and ingredients. Having everything laid out on the counter means you won't be scrambling around looking for something when your hands are covered in cake crumbs or melted chocolate. It’s a bit like getting your workspace tidy before starting a creative project; it just makes everything flow better. We often find that a clear space helps clear the mind too, in a way.
You will need a few basic things to get started. For the cake part, obviously, you'll need a baked cake. This could be something you make from scratch, or honestly, a box mix works perfectly well too. Then there's the frosting or binder, which helps hold the cake crumbs together. You'll also want some sort of coating for the outside, like candy melts or chocolate, and then, of course, the straws or sticks that give these treats their signature look. Having a good mixing bowl, a sturdy spoon or spatula, and maybe some parchment paper ready will also be very helpful, as a matter of fact.
A little bit of preparation really does go a long way when you're making cake pops on straws. For example, if you plan to use a cake that you've just baked, you'll want to set it aside and let it cool completely. Trying to work with warm cake can be a bit messy and might not give you the right texture for shaping. Similarly, if you are using butter for your frosting, making sure it is at room temperature will help it blend in nicely. These small steps, you know, really contribute to a much more pleasant experience and a better end result for your delightful treats.
Are Cake Pops on Straws Hard to Make?
Many people wonder if making cake pops on straws is a really difficult task, and honestly, the answer is often a pleasant surprise. They look so perfect and neat that it's easy to think they must be incredibly tricky to put together. But in truth, while they do take a little bit of time and a certain amount of patience, the actual steps involved are pretty straightforward. It's more about following a sequence of actions rather than mastering some complex baking technique. You could say it's more like a craft project than a high-level culinary challenge, actually.
The core idea behind cake pops on straws is quite simple. You take a baked cake, crumble it up, and then mix it with a little bit of frosting or another binder until it forms a dough-like consistency. This mixture is then rolled into small, round shapes. After that, you dip a straw or stick into some melted chocolate or candy coating, insert it into the cake ball, and then let that set a bit. Finally, you dip the whole cake pop into the coating, decorate it, and let it firm up. See? No fancy piping bags or delicate sugar work needed for the basic version, really.
Where people sometimes run into a bit of trouble with cake pops on straws is often related to temperature or consistency. For instance, if your cake mixture is too wet, it might be hard to roll into balls, and if it's too dry, it won't hold together. Similarly, if your coating is too thick, it won't give a smooth finish, and if it's too thin, it won't cover properly. But these are things you learn to adjust with just a little practice. It's like anything new, you know; the first time might be a bit of a learning curve, but it gets much easier and more fun with each attempt. So, no, they aren't hard, just a little bit of a process, you know?
The Core of Great Cake Pops on Straws
At the very heart of making truly great cake pops on straws is the cake itself. This might sound obvious, but the type of cake you use, and how you prepare it, makes a big difference to the final texture and taste. You want a cake that is moist but also easy to crumble and mix. Some cakes, like a denser vanilla or chocolate sheet cake, tend to work particularly well for this. They hold their shape nicely once mixed with the frosting and don't fall apart too easily when you are trying to roll them. It's kind of, the foundation of the whole thing, you know.
Once your cake is baked and cooled, the next important step is to crumble it. You can do this with your hands, which is a bit messy but effective, or you can use a fork or even a potato masher in a large bowl to break it down until it's very smooth, almost like fine sand. The goal is to have very small, even crumbs so that when you mix in the binder, you get a consistent texture throughout. This consistency is pretty important for making sure your cake pops on straws are uniform and pleasant to eat. A really fine crumb will give you a smoother, more refined cake pop, honestly.
Then comes the binder, which is typically frosting. This is what holds all those lovely cake crumbs together and gives the cake pop its unique, dense, and fudgy texture. You don't want to add too much frosting, or your cake pops will be too soft and sticky, making them hard to shape and prone to falling off the straw. Just enough to bring the crumbs together into a pliable dough-like consistency is what you are aiming for. It’s a bit of a feel thing, really, but you’ll know it’s right when you can roll a small portion into a ball that holds its shape well. This part is, you know, absolutely key to the success of your cake pops on straws.
How Do You Get Cake Pops on Straws Just Right?
Achieving that perfect, smooth, and well-formed cake pop on a straw really comes down to a few key steps and a little bit of attention to detail. It's not about being super precise in a scientific way, but more about understanding how the different parts work together. One of the biggest things to consider is the consistency of your cake and frosting mixture. If it's too crumbly, it won't stick to the straw, and if it's too wet, it will just slide right off. So, getting that balance right is, you know, pretty important.
After you have mixed your cake crumbs with the frosting, you will want to roll them into uniform balls. Using a small scoop can help with this, ensuring each cake pop is more or less the same size. This helps them cook or chill evenly and also makes them look very neat when they are all finished. Once rolled, placing these cake balls in the refrigerator for a while, maybe 15 to 20 minutes, really helps them firm up. This chilling step is actually a big secret to success for cake pops on straws; it makes them much easier to handle and less likely to fall apart when you dip them.
When it's time to put the straw in, you should dip the tip of your straw or stick into a little bit of melted candy coating or chocolate first. This acts like a glue, helping the cake ball stay firmly attached. Push the coated straw into the chilled cake ball, but not all the way through. Then, put them back in the fridge for another few minutes to let that "glue" set. This simple step can really save you from a lot of frustration later on when you are dipping your cake pops on straws, honestly. It’s these small, thoughtful actions that make all the difference, you know.
Decorating Your Cake Pops on Straws
Once your cake pops on straws are firmly attached to their sticks and nicely chilled, the really fun part begins: decorating them! This is where you can let your creativity truly shine and make each one a little piece of art. The most common way to cover them is with melted candy melts or chocolate. These come in a huge range of colors, which means you can match them to any occasion or simply pick your favorite shades. It's a very simple process, but it makes a huge visual impact, you know.
To get a smooth coating, you need to make sure your candy melts or chocolate are melted to the right consistency. They should be fluid enough to easily dip the cake pop, but not so thin that they just run off. If they seem a bit too thick, you can add a tiny bit of shortening or a special thinning agent designed for candy melts. Hold the cake pop by its straw and dip it straight down into the melted coating, making sure to cover the entire cake ball. Then, gently tap off any excess coating by tapping the stick against the side of the bowl. This helps create a smooth, even surface for your cake pops on straws, which is pretty satisfying to see.
After dipping, you have a blank canvas for all sorts of decorations. While the coating is still wet, you can sprinkle on some colorful sprinkles, edible glitter, or even finely chopped nuts. For more detailed designs, you can let the first layer of coating set, then use a contrasting color of melted candy to drizzle patterns or draw little designs. Some people even use edible markers for very precise details. The possibilities are, in a way, pretty much endless when it comes to personalizing your cake pops on straws. It’s a chance to make them uniquely yours, or perfectly suited for a special event, you know.
What Are Some Fun Ideas for Cake Pops on Straws?
When you think about making cake pops on straws, the basic idea is just a round cake covered in chocolate. But that's really just the beginning, honestly. There are so many ways to make them truly special and unique, depending on the occasion or just what you feel like trying. For example, you can think about different themes. If it's a birthday party, you could make them look like miniature birthday cakes with tiny candles made from sprinkles. For a holiday, you could shape them like little pumpkins for Halloween or snowmen for winter. The possibilities are, you know, pretty vast.
Beyond just the shape and the color of the coating, you can play with different flavors for the cake and the binder. Imagine a red velvet cake pop with cream cheese frosting inside, covered in white chocolate, or a lemon cake pop with a tangy lemon glaze. You could even add small pieces of fruit or chocolate chips into the cake mixture before rolling. For a bit of extra texture, try rolling the freshly dipped cake pops in crushed cookies, toasted coconut, or even a fine dusting of cocoa powder. These little additions can really take your cake pops on straws to another level, in a way.
Presentation is also a big part of the fun with cake pops on straws. You can arrange them upright in a decorative container filled with candy or floral foam, making them look like a bouquet of sweet treats. For individual favors, you can wrap each one in a clear cellophane bag and tie it with a pretty ribbon. Some people even create elaborate stands to display them at events. So, it's not just about the taste, but also about how they look and how they are given to others. These small touches really make them feel extra special, you know, and make your cake pops on straws truly memorable.
Enjoying Your Homemade Cake Pops on Straws
After all the effort you put into making your beautiful cake pops on straws, the best part, of course, is getting to enjoy them! There's a real sense of accomplishment that comes with biting into a treat you've made yourself, especially when it looks so good and tastes so pleasant. These little sweets are perfect for sharing, whether it's with family at home, friends at a casual get-together, or as a lovely addition to a bigger celebration. They are, you know, very much a crowd-pleaser, typically.
When you serve your cake pops on straws, remember that they are best enjoyed at a cool room temperature or slightly chilled. If they get too warm, the coating might soften and become a bit messy, and the cake inside could lose its firm texture. So, keeping them in a cool spot until just before serving is a pretty good idea. They also keep quite well in an airtight container in the refrigerator for a few days, so you can make them ahead of time if you are planning for an event, which is very convenient, actually.
The act of eating a cake pop on a straw is, in itself, a bit of a delightful experience. It’s a clean way to enjoy cake, without needing any cutlery. You just pick one up, take a bite, and savor that concentrated burst of cake and coating. It's a moment of simple joy, really, a little sweet escape. So, whether you are making them for a special occasion or just for a little treat on a quiet afternoon, remember to take a moment to truly appreciate the small, wonderful creation that is your homemade cake pop on a straw. It’s a pretty sweet reward for your efforts, you know.